 >
>
 >
>
 >
>
 >
>
 >
>
 >
>


 >
>
 >
>
 >
>
 >
>
 >
>
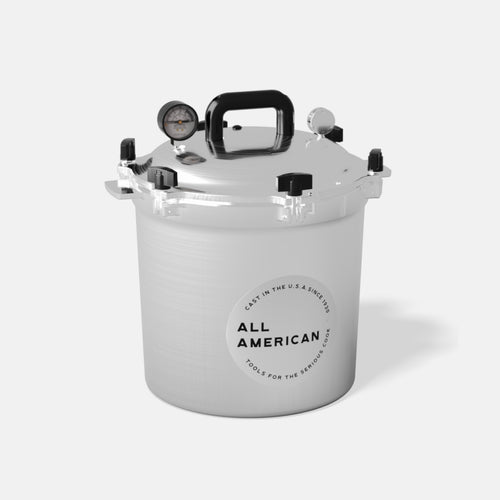
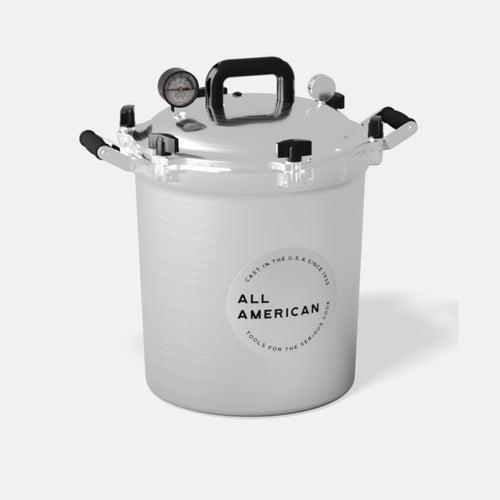
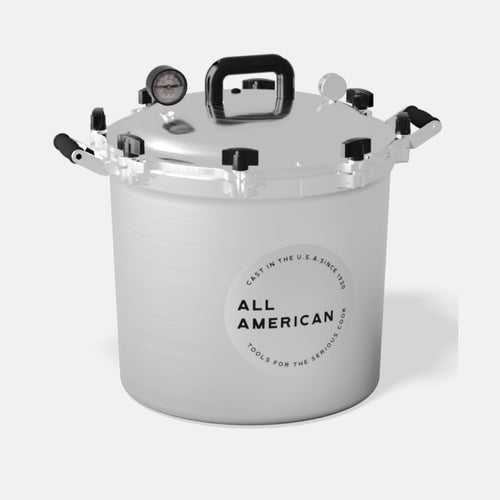
Product Info & Care
Why is my lid not sealing?
Where can I have my steam gauge tested?
Is it necessary to have my gauge tested when using the pressure regulator weight?
Can I do a trial run with only water in my pressure cooker to become familiar with the operation of the pressure cooker?
Can All American 1930 pressure cookers be used on glass top stoves?
Why can't I remove my cover after canning?
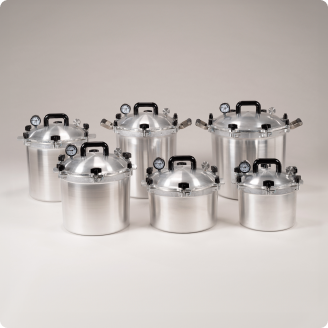
What is the advantage of the 925 model over the 921 model of pressure cookers?
I cannot remove my steam gauge / vent pipe / top handle from my cover.
My pressure cooker is discolored on the inside.
Where can I get specific canning information and recipes?
Why doesn't my #68 pressure regulator weight release?
What heat sources can I use?
Why does my #68 pressure regulator weight constantly release?