 >
>
 >
>
 >
>
 >
>
 >
>
 >
>


 >
>
 >
>
 >
>
 >
>
 >
>
New to Pressure Canning? Start Here.
Follow these beginner friendly steps with helpful videos to guide you through your first canning session - safely, confidently, and successfully.
Download the Canning ChecklistThoroughly Wash & Sanitize jars
Cleanliness is key. Properly wash and inspect your jars before canning.
Prepare Ingredients
Wash, peel, chop, or precook your ingredients so they’re ready to fill your canning jars.
Add Ingredients to Jars
Use a funnel for clean, even filling and maintain proper headspace for sealing success.
Clean Jar Rims with Vinegar
Wipe jar rims with vinegar to remove residue and ensure a strong seal.
Placing Lids on the Jars
Place lids and rings carefully to avoid overtightening and sealing issues.
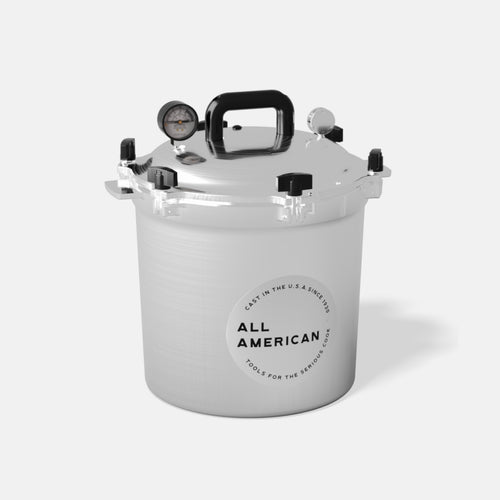
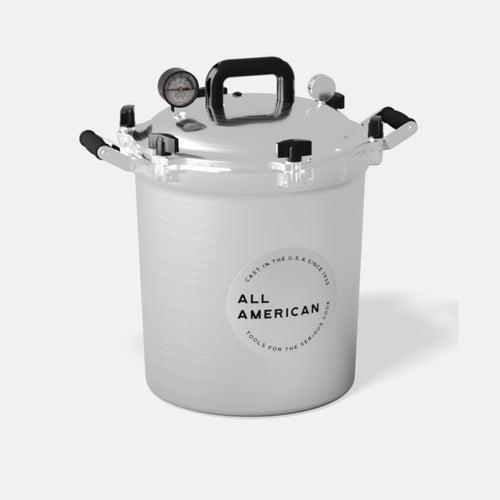
Setting Up Your Pressure Canner
Place the canner on your burner, add rack to bottom, and add 2-3 inches of water.
Apply Oil to the Rim of the Cover
Lightly oil the canner’s metal seal to maintain a smooth, effective seal during pressurizing.
Add jars to Pressure Canner
Arrange filled jars upright on rack inside canner using a lifter, ensuring they’re spaced evenly for circulation.
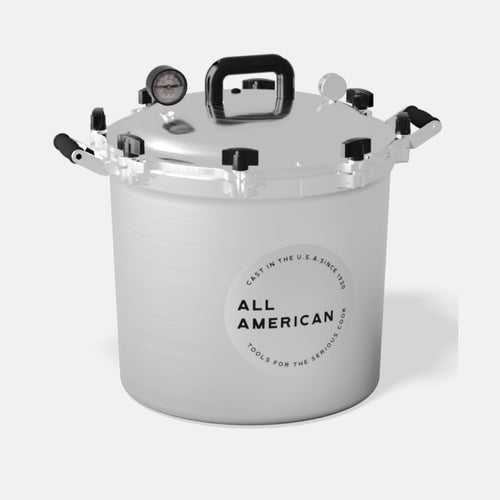
Secure lid on Pressure Canner
Twist to align the arrow on the top of the cover to the notch on the bottom of the cover.
Tighten Wing Nuts
Evenly tighten opposite wing nuts in pairs “star” to create a balanced, tight seal on canner. Ensure lid is even all the way around.
Turn on burner and vent for 10 min.
Heat canner to release steady steam for 10 minutes, removing air for safe processing.
Add Pressure Regulator Weight
Place regulator weight carefully on vent pipe to maintain the correct pressure level. It should jiggle 1–2 times every minute.
Set Timer for Processing
Start timing once desired pressure is reached, following recipe guidelines for your food type.
Remove Pressure Regulator Weight
Turn off heat and wait until pressure drops to zero before carefully removing the weight.
Remove Cover
Undo wing nuts, twist, and open lid slowly away from face to avoid steam burns after pressure has fully released.
Remove Jars
Use jar lifter to safely transfer hot jars to a rack or towel-lined surface or for cooling.
Let Jars Cool
Allow jars to cool undisturbed for 12–24 hours so seals can properly form.
Remove Rings, Label, & Wash
Check seals, remove rings, wipe jars clean, and label with contents and date.