 >
>
 >
>
 >
>
 >
>
 >
>
 >
>
 >
>
 >
>
 >
>
 >
>
 >
>
Directory
From beginner basics to techniques and inspiration.
New to Canning?
Start with the basics. Learn step-by-step and build your confidence.
Canning Tools & Techniques
For those looking to refine skills, troubleshoot, or upgrade their setup.
Seed to Seal
Roadmap for planning, growing, preparing, and preserving food year-round.
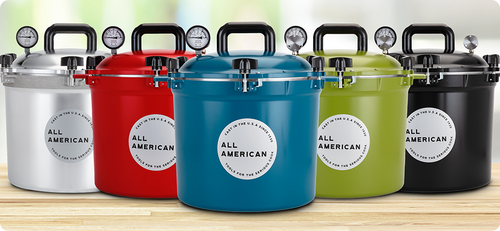
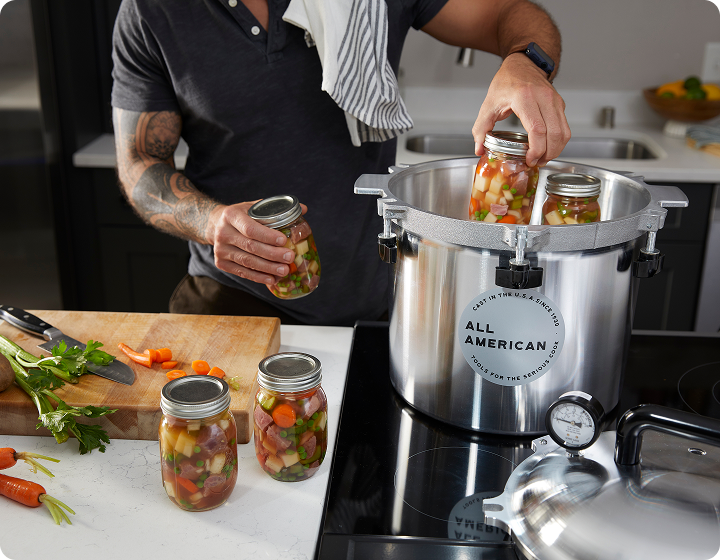
Canning Hub
Welcome to your go-to destination for all things pressure canning.
Whether you're just getting started or have years of experience, the Canning Hub is here to help you learn, explore, and refine your skills.
Inside, you’ll find a growing library of resources — from how-to videos and step-by-step guides to expert tips and downloadable checklists. Whether it’s prepping jars or perfecting your pressure canner setup, we’ve got you covered.
Think of this hub as your canning companion — here to help you preserve the harvest, build your knowledge, and keep the tradition alive, one jar at a time.
Blog Highlights & Expert Tips
Get practical advice and trusted insights from the experts behind America’s original pressure canner.

Cosecha saludable: cómo conservar lo mejor de su huerto de verano
Saber cuándo empezar a envasar es uno de los aspectos más...

Conservación para la estabilidad financiera
Si alguna vez has tenido que afrontar la factura del sup...

Cómo limpiar, mantener y almacenar su envasadora a presión All American 1930
Su envasadora a presión All American 1930 es una inversió...

Envasado a presión: la comida rápida original (pero realmente saludable)
Cuando la vida se vuelve ajetreada, es tentador pasar por...
Recipes
Explore beginner-friendly recipes that work with your All American 1930 pressure canner.

BAYAS – ENTERAS
Bayas enlatadas (tipos variados) Frutas adecuadas: Moras, ará...

SOPAS (de verduras, de frijoles o guisantes secos, de carne, de aves o de mariscos)
Sopas enlatadas (Instrucciones generales) Rendimiento: Varía ...

JUGO DE TOMATE
Jugo de tomate enlatado Rendimiento: Aproximadamente 3 ¼ li...
Downloadable Tools & Checklists
Download easy-to-use checklists for safe, reliable canning success.
Canning Checklist
A step-by-step guide to help first-time canners feel confident and prepared from start to finish.
Cleaning & Maintenance
Keep your pressure canner in top shape with seasonal care tips and easy-to-follow maintenance steps.
Inspection Checklist
Inspect your pressure canner thoroughly to ensure maximum safety, reliable performance, and long-lasting use.
FAQs
If you still have questions, contact customerrelations@wafco.com
Our pressure canners require 2–3 inches of water in the bottom before adding jars. This is enough to create the steam necessary for building pressure without submerging the jars.
Losing liquid from jars (called siphoning) is fairly common and usually caused by pressure or temperature fluctuations. Here are the most common reasons:
- Rapid pressure changes: Allow the canner to cool and depressurize naturally. Forcing it open early or removing the weight too soon can cause liquid loss.
- Incorrect headspace: Leaving too little or too much headspace in jars can cause liquid to escape. Follow tested recipes carefully.
- Inconsistent pressure: Keep the pressure steady during processing. If the gauge dips below the recommended level, extend processing time.
Cooling jars too quickly: Avoid drafts on cooling jars and don’t retighten bands after canning.
- Pressure Canning: Required for low-acid foods (pH above 4.6) such as vegetables, meats, poultry, seafood, beans, and soups. These foods must be processed under pressure to destroy Clostridium botulinum spores, which can survive boiling water temperatures.
- Water Bath Canning: Safe only for high-acid foods (pH 4.6 or below), such as fruits, jams, jellies, pickles, salsa (tested recipes only), and tomatoes with added acid (lemon juice or citric acid).
Using the correct method is essential for food safety. Never attempt to water bath can low-acid foods.
At minimum, you’ll need:
- Pressure Canner .
- Glass Jars with lids and rings
- A jar lifter to safely move hot jars.
- A funnel to fill jars without spills.
- A bubble remover/headspace tool to remove trapped air and measure headspace.
- A clean towel for wiping jar rims before sealing.
Optional but helpful: magnetic lid lifter, ladle, and extra racks for stacking jars.