 >
>
 >
>
 >
>
 >
>
 >
>
 >
>
 >
>
 >
>
 >
>
 >
>
 >
>
5 Things You Should Know if You Are New to Canning (or Thinking About Getting Into It)

Canning is one of those skills that feels intimidating right up until you do it for the first time — and then it becomes one of the most rewarding things you'll do in your kitchen. There's nothing quite like opening your pantry in the middle of winter and pulling out a jar of tomatoes, salsa, or green beans you put up yourself. But before you dive in, there are a few essentials every new canner needs to know to keep their food (and their family) safe. Here are five things to understand before you get started.
1. You Can't Reuse Lids After Canning
This one surprises a lot of new canners. Standard canning lids are designed for one use only. The flat lid has a sealing compound around the edge that's made to create an airtight seal exactly one time — once it's been processed and sealed, that compound has done its job and won't seal reliably a second time. The rings (bands) are reusable as long as they're not rusted or bent, but the flat lids themselves should always be new for each canning session. Stock up before canning season so you're never tempted to reuse an old lid to save a trip to the store.
2. Not Every Recipe Is Safe to Pressure Can — Only Tested, Approved Recipes
This is the single most important food safety rule in home canning: you cannot simply pressure can any recipe you find online, in an old family cookbook, or on social media. Processing times, jar sizes, and ingredient ratios are all carefully calculated based on the acidity, density, and composition of a specific recipe. Changing an ingredient, doubling a recipe, or using a processing time from a different recipe can result in food that isn't heated long enough to be safe — and with low-acid foods like meats and vegetables, that's a serious risk.
Always use recipes that have been scientifically tested and approved by a trusted source, such as:
- The USDA Complete Guide to Home Canning
- The National Center for Home Food Preservation
If a recipe doesn't come from one of these sources, it's best to skip it or find a tested version of something similar.
3. Remove Your Rings and Wash Your Jars After Canning
Once your jars have finished processing and cooled for the recommended time, it's tempting to just set them on the shelf and call it done — but there are two more steps you shouldn't skip. First, remove the rings before storing your jars. Leaving rings on can trap moisture, hide a seal failure, and in some cases cause the ring to rust onto the jar over time. Second, wash your jars with warm, soapy water to remove any food residue or sticky spill-over from the processing water before you store them. A clean jar also makes it much easier to spot a proper seal and read your label later.
4. Your Altitude Matters for Processing Times
Water boils at a lower temperature the higher up you are, which means the same recipe can require a longer processing time — or a different pressure setting — depending on your elevation. A processing time that's perfectly safe at sea level may not be enough to properly process food at a higher altitude. Before you can, look up your local altitude and adjust your processing time or pressure according to the chart provided in your recipe source (the USDA guide and NCHFP both include altitude adjustment charts). This step is easy to overlook, but it's a critical part of making sure your food is processed safely.
5. Invest in the Right Equipment — and Take Care of It
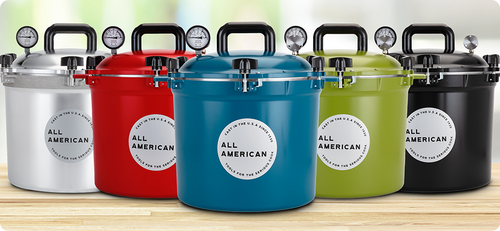
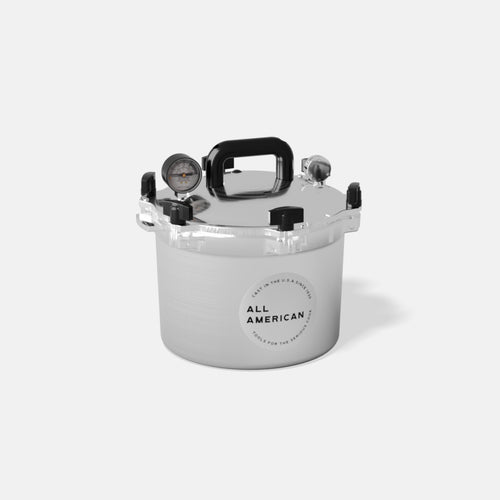
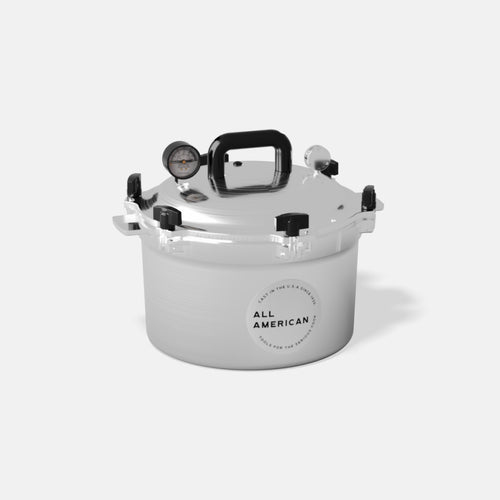
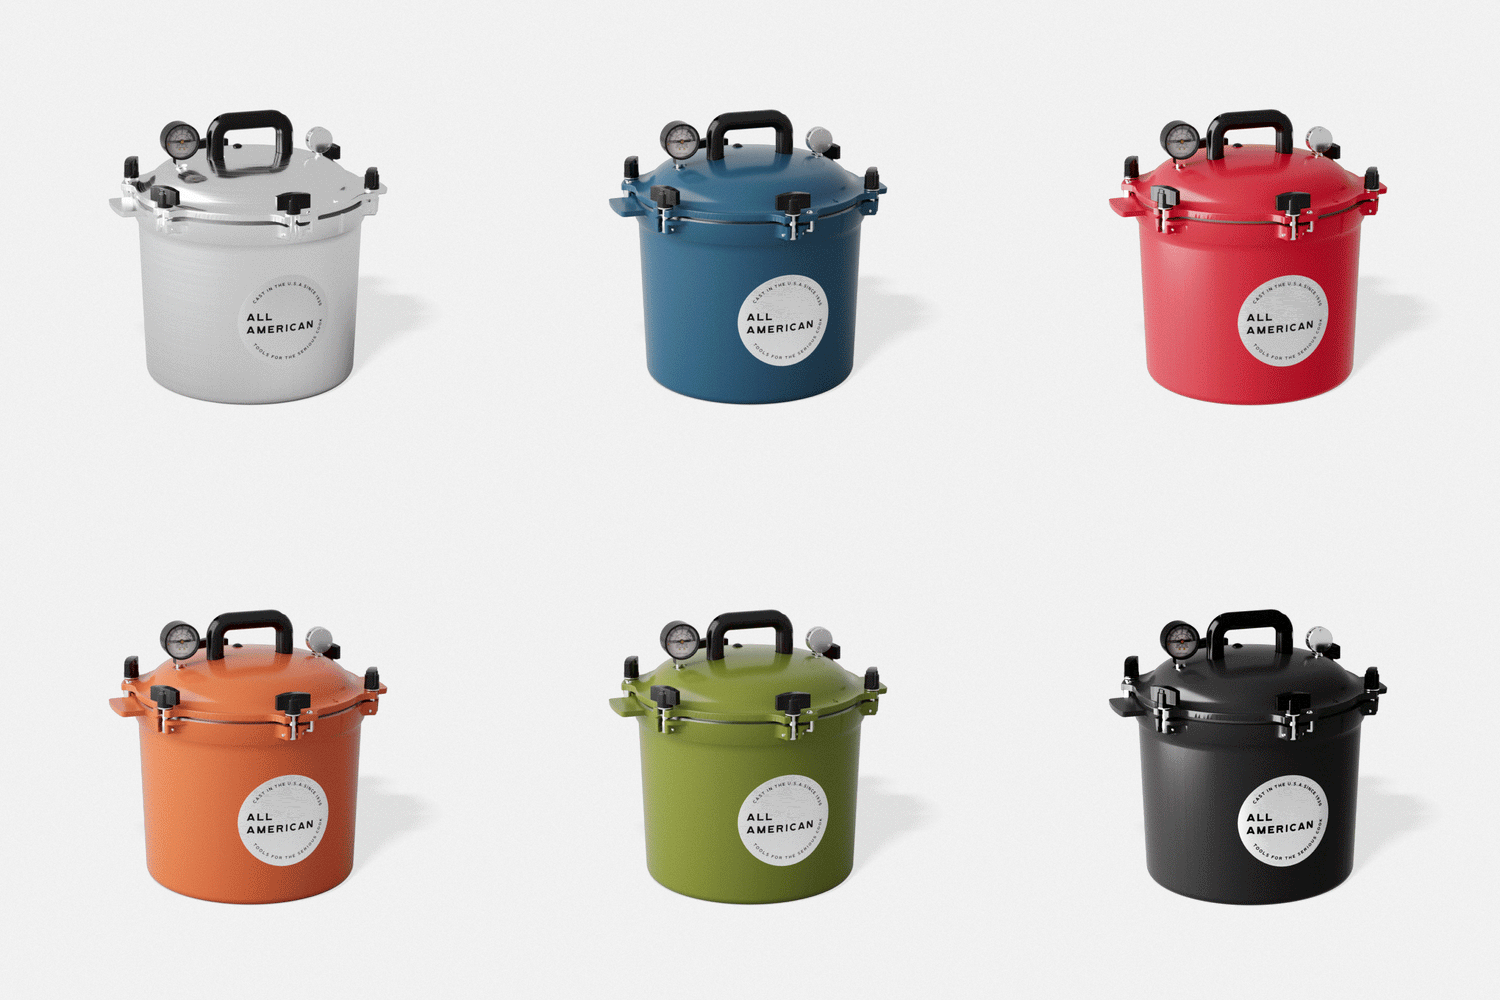
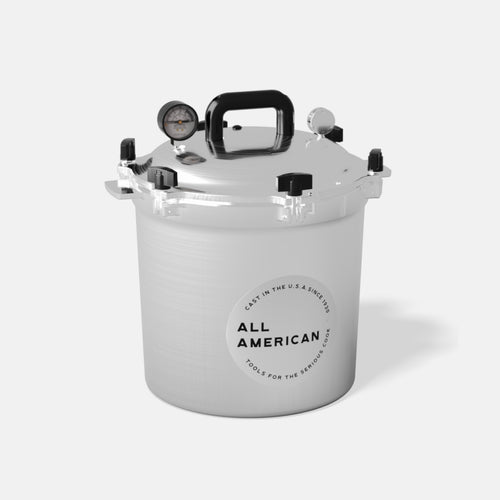
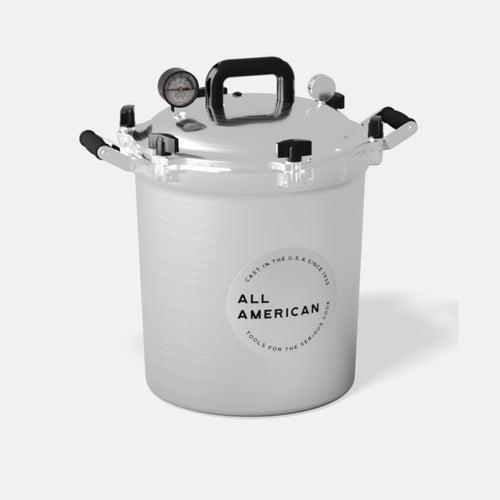
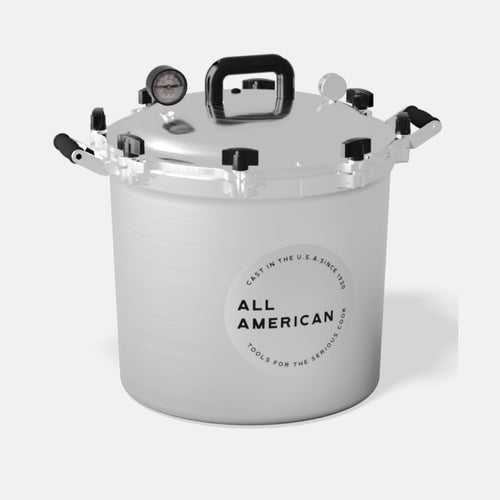
Good equipment makes canning safer and a whole lot easier. A quality pressure canner is essential for canning low-acid foods like vegetables, meats, and soups, since a water bath canner alone isn't sufficient for those. That's why we build every All American 1930 pressure canner with a metal-to-metal seal instead of a rubber gasket — there's no gasket to wear out, crack, or replace over time, so your canner is ready to go year after year. We also offer the accessories that make canning day easier, from jar lifters and metal-to-metal seal oil all designed to work together as a complete canning setup. Take care of your equipment by inspecting your canner regularly, and store everything clean and dry between canning sessions so it's ready when the next harvest rolls in.
Ready to Get Started?
Canning has a bit of a learning curve, but once you understand the fundamentals, it becomes second nature — and there's nothing like the feeling of a pantry full of food you preserved yourself. If you're just getting started, take it one recipe at a time, stick to tested sources, and don't be afraid to ask questions.